Anybody who uses a GreenWorks trimmer will come to realize one day that they need to change the string of it on their own to continue using it. With constant and long-time usage, that’s quite an obvious thing that your trimmer will need.
And at that moment, you should be completely prepared by knowing the right process on how to replace the string on your GreenWorks trimmer. So, today’s topic is for all those GreenWorks trimmer users who need an effective method for changing the string.
Keep reading as I’ll walk you through it!
How to Replace String on Greenworks Trimmer
It’s a straightforward process but a little bit complicated. After you try it once successfully, you’ll get the hang of it. Let’s get started!

1. Single Line Trimmer
So, this first step is all about GreenWorks trimmer head removal. Take the cap out. This will make your spool turn out. Inside you should be able to find a tiny gap after this.
Now, that tiny gap is where you need to start your trimmer line. Also, if you focus on the spool then you’ll notice there are arrows around it. There should be about two or three arrows there. The arrows are basically an indicator of which way the line needs to wrap. You need to get rid of the connection or turn off the trimmer at this point.
Then focus on finding the retainer. You need to twist the head either counterclockwise or clockwise. This will depend on your trimmer model. There should be a release button that you need to press in order to let the clip unwind. The release button also helps in discharging the spool.

There are various types, so if the system is a bit different, you should be able to find instructions in the manual of your device. Usually, the counterclockwise twisting works for loosening just right. Once you figure out the way, just detach the trimmer’s head spool.
Moving on…
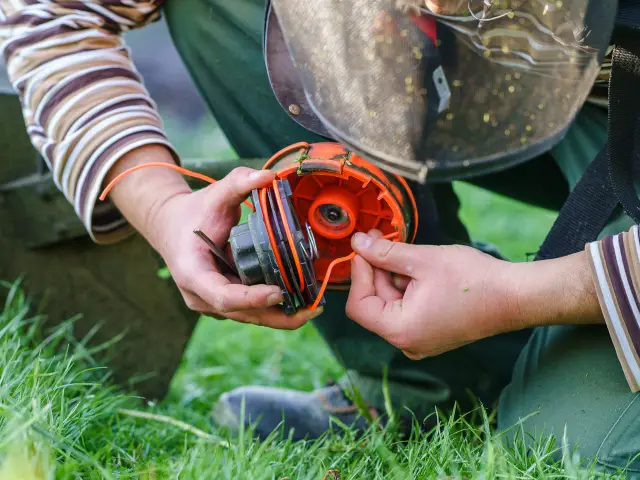
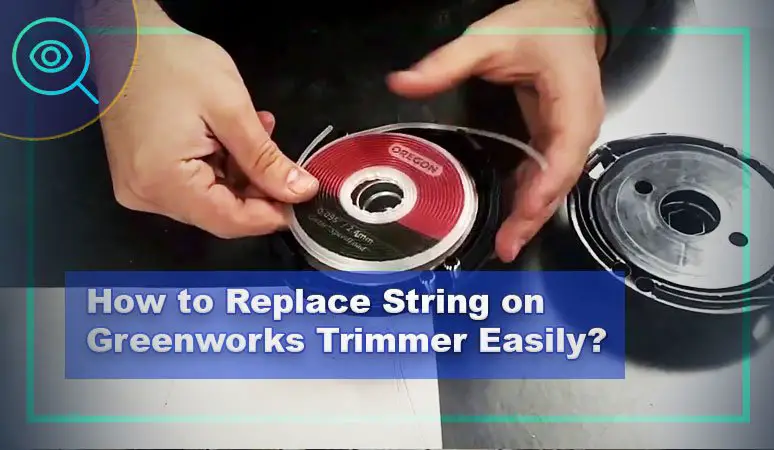
In the spool, you’ll find the starter hole. The trimmer line’s tip needs to go in the starter hole. Follow the direction of the arrows to wind it properly. The line should be wrapped in straight rows in a neat way. So that there are no jams later on. Once you think there are around five to six inches of line remaining, simply snap it into the spool’s retainer. So that it can hold in place.
Next, you need to change the spool in the head of the trimmer. Get it out from the retainer and pull through the slot. Make sure that the feeding is done smoothly here.
Line up the retainer with the slot on the outside of the head. Put back the spool in the trimmer head. Remove the line from the retainer, and pull it through the slot to ensure it is feeding smoothly. Finally, you need to get the retaining cap back in its place.
2. Double Line Trimmer
Depending on your trimmer, you’ll need to determine the right length and width of the line. Anything wrong here can be spell trouble for your trimmer since it won’t work the right way.
One quick tip before we continue…
Buy the right size line for your GreenWorks trimmer and never go for just your gut feeling or play a guessing game. Also, if you can’t find the right size, go for a bit longer line so you can cut it to the right length later.
Make sure you’re safe before you get started by turning off the trimmer and the gearbox has already cooled down. So that there’s no chance of meeting an accident later on. Next, you need to get rid of the retaining cap from the head. You may need to press one or a few tabs here.
In some models of the GreenWorks trimmer, this part involves unscrewing the cap. Also, you may end up doing both steps for removing the retaining cap.

Then you need to find the starter hole in the spool. There should be two starter holes in this variant. You need to insert one end of the first trimmer line in one of the starter holes. Now following the arrow directions, wind it securely.
Make sure you are wrapping the line as neatly as possible. It should be in straight rows to avoid any sort of jams later. Once the remaining line is around five to six inches short, you need to snap it inside the retainer. And this will make it hold onto place. Now you need to do the same thing once again with your string trimmer.
You’ll repeat the exact line inserting and wrapping process for the second line. You should be able to find the ends of the line on the spool’s opposite sides. This is to match the eyelets. You should find them on the trimmer head’s outside portion.
At this point, you need to detach the lines from retainers. On the outside of the head, simply thread them within eyelets. Change the trimmer head spool. Make sure to pull the lines through the slot and check whether feeding is smooth or not. Finally, you need to reconnect the retaining cap.
Watch This!
Conclusion
Looks like we are by the end of today’s discussion. Hopefully, now you have a clear idea about how to replace the string on the GreenWorks trimmer. Fixing the string or simply replacing it from time to time is actually pretty important to ensure the smooth performance of your trimmer.
Make sure, before trying anything at all, to read and understand the manufacturer’s guidelines. Sometimes depending on the specific model, there can be a special note that the user needs to follow with replacing string. To ensure you don’t end up doing it wrong, always start safely by reading the guidelines.
On That Note, See You Next Time with Another Fun Topic!


I have a Greenworks model 21272, string trimmer powered by electric cord. Love using it EXCEPT the string gets hot, melts onto itself and I have to open it up, take it loose, start again. It does it within 3-5 minutes of use! It is Greenworks brand string I ordered with the trimmer. I tried spraying it with silicone spray lubricant as suggested; did not help. What can I do about it?