Going on long trips often means carrying a lot of stuff along with you. And if you are someone who needs your car for the next road trip plan, then definitely a cargo carrier will get included. This way you expand the space that can hold all your belongings safe while you’re focusing on driving.
However, just getting a cargo carrier is not enough. You need to properly attach it either on your car’s roof or the backside. According to experts, usually people prefer to go for the first method. And so, today let me tell you how to attach cargo carrier to roof rack in a way that safeguards all your stuff from falling during the whole journey.
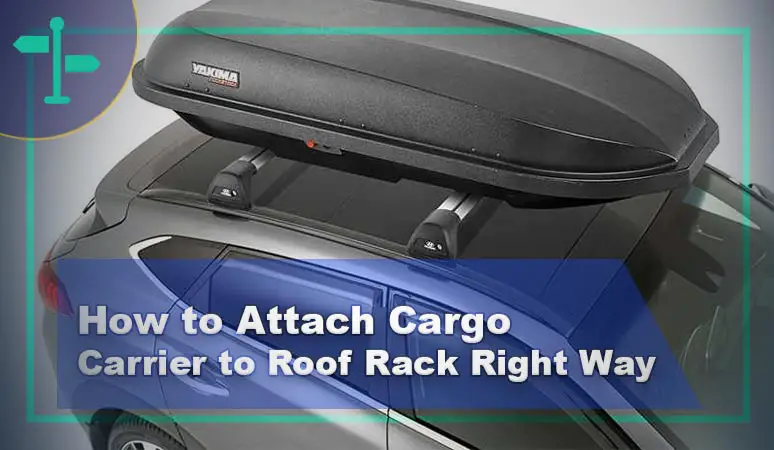
Here’s How to Attach Cargo Carrier to Roof Rack Safely.
Knowing the proper way of fitting your cargo carrier on your car’s roof is way more important than you’ll ever imagine. And that involves considering what type of cargo carrier you have too. I’ll keep everything included, so keep on reading…
Before Installing
There are a few things that you need to think about prior to installing the cargo carrier. And the first one is load limit of your car. Then comes the consideration of road you’ll be traveling on. Make sure you are not breaking any regulation of your vehicle’s load limit. Also, remember that with a cargo carrier you will increase the dragging of your vehicle.
Not to mention the vehicle will also see an increase in fuel consumption. On the highway, you are more likely to hear noises coming from roof where cargo carrier is fixed. It will also increase the overall height of your car. So, driving through a tunnel or narrow areas will need your complete considerations. In case you are going with a hitch mount carrier, then you’ll need a hitch receiver for it to work.
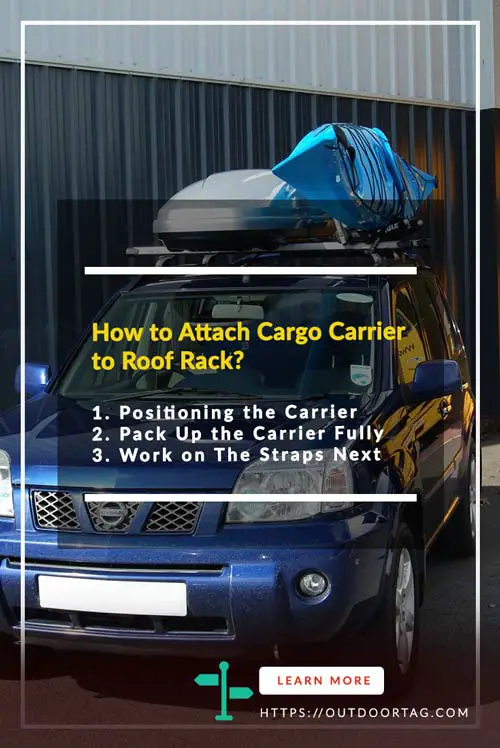
Positioning the Carrier
Start by placing the carrier in a position that you can attach it properly. It should be placed from the roof’s front edge. The distance needs to be one foot for a minimum. Place it in a way that the carrier stays quite on center of vehicle.
Pay attention to this place selection since this will greatly affect your later attaching steps. Also, make sure its less likely to move towards the edge becoming more prone to a fall down. Since there will be a lot of movements when you drive the car.
Pack Up the Carrier Fully
Now that the carrier is right where you’ll attach it, time to pack up fully. This means you need to put on it everything that you’ll carry for the journey. This is because the carrier comes with a design that attaches best when it is completely packed.
This will also help to prevent any sort of fabric delamination problem that takes space often due to wind flapping.
And due to this design, you also need to use some additional pillow and cushions. In case there’s an empty spot noticeable even after packing all your belongings, then you should use those pillows. The extra cushioning will also help to better protect your carried stuff inside carrier.
If the cargo carrier comes with a lock then make sure to secure it well to keep your belongings free from any theft worries. Or else you may need to invest in a lock system that is installable for a cargo carrier. Once everything is locked properly, move onto the next step.
Work on The Straps Next
In the roof rack of your vehicle, bring carrier between crossbars. Now across the carrier length, attach straps and pull them tight to secure. Depending on roof bar configurations, you can make adjustments here. There should be installation instructions from the manufacturer too. You should also pay attention to any important guideline that is mentioned.
There might be 4 strap guides on the carrier top area meant for guiding. You should not confuse them by tying together. While strapping the carrier make sure there’s no loose fabric crease taking place. Or else this can result in a bunch of problems such as noise, wind flapping, low gas mileage, and so on. You can always use a few extra straps whenever there’s a need to hold down any loose crease.
Before you start driving, make sure the straps are firm enough. Never try to attach those straps to areas of your car that are not capable of supporting heavy loads.
Watch This!
Wrap Up
And now you know how to attach cargo carrier to roof rack of your car. No matter if you are deciding for a bike trail journey or simply a fun ski slope adventure, the proper carrying of your belongings matter a lot. Especially when you are traveling to long-distance and holding a lot of loads on top of your vehicle. Also, if you are carrying your bike for the journey, then don’t forget to learn about how to install a bike rack on a hatchback car.
Utilizing the empty space on your vehicle’s roof is surely a smart thing to do. But not if you don’t worry much about a secure and reliable strapping session. So, do pay enough attention to this matter and your loads and gears will reach its destination safely.