Summers are all about going out and doing activities. And one of the many enjoyable things to do during hot time is riding a bike. Now if you are planning to go on a trip with your hatchback car and maybe ride a bike after reaching destination, you’ll need to fit it on the vehicle to transport.
And that’s when the whole thing on how to install a bike rack on a hatchback car becomes interesting. If you know about how to attach cargo carrier to roof rack then this one will also feel quite easy to you. Let’s get your curiosity solved today in this piece of writing.
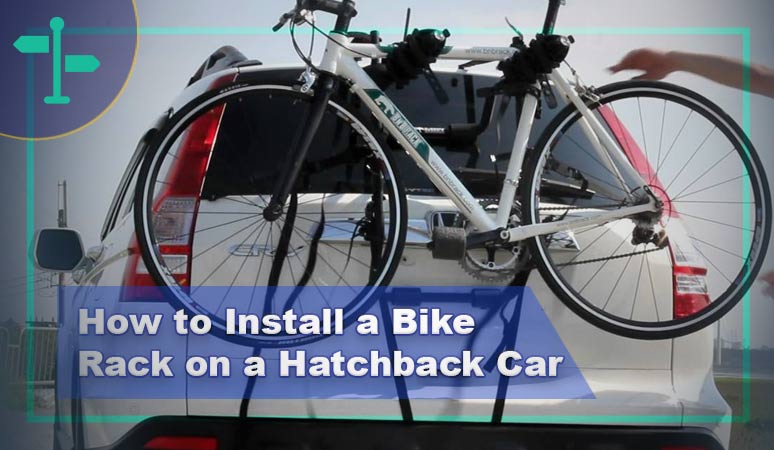
How to Install a Bike Rack on a Hatchback Car
From reliable expert sources, we were able to find out that hatchback cars are actually one of the best recreational vehicle options to fit a bike rack on it. You just need to know about the rack’s set up and what type of bike you’ll be fitting on it.
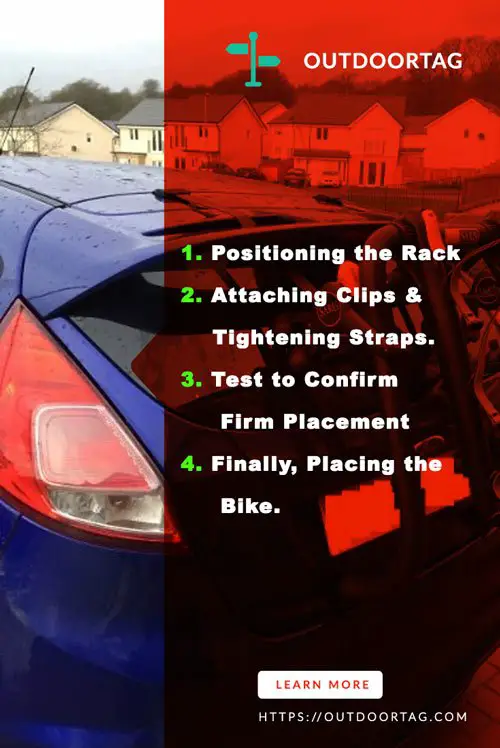
Positioning the Rack
First of all, you need to open the rack up. It needs to be in an arc shape. Here things can feel a bit tricky because depending on what model you have the opening shape can vary. Usually, the rear-mounted racks are arc in their opening form.
In a few hatchback models, you’ll need mounting one end against the back window. While the other one will mount right against trunk’s bottom part. Also, when you are deciding which side goes for upward facing, pay closer attention to arms.
There should be arms for holding the bike in its spot firmly. You just need to ensure the arms are facing upward. And that will make your recently bought best bike rack rest the right way as well.
Attaching Clips & Tightening Straps.
Next, you need to fix the clips into trunk’s top, bottom, and side areas. Make sure it’s hooking right into spaces where your trunk starts to separate from the vehicle. Any sort of force for clipping is highly not recommended to do. You just need to find a space where they easily agree to hook.
Also, there is not a single clip without a purpose. And so, you must give it a double check by looking around the rack. Just to make sure that every clip is hooked by the end and none is missed out.
Now time to secure the rack by tightening straps. The clip will discharge excess strap once you start pulling it. Make sure to pull out as much needed for making the rack firmly stay in place. If you don’t pull strap tight enough while driving, the racks will be at serious risk of falling down on road compromising safety of your bike.
Test to Confirm Firm Placement
After attaching and tightening all the clips and straps, time for you to check if it happened the right way. you need to give the bike rack some side to side shaking. Check the strength of your rack this way. Hold it with both of your hands while moving this way. If the attachment was right, then rack will move side to side along with your vehicle. In a way that seems like both your car and rack are one.
When you will be driving, there are some good chances of taking concerns, slowing down, and accelerating if need. And during those actions, if your rack is firmly in place it will be able to easily handle without dropping anything.
If there are some unnecessary movements, you need to tighten each strap once again. Keep on fastening until the rack feels secure.
Finally, Placing the Bike.
The way you place your bike on rack also matters. Because if you do anything wrong here the rack may end up coming off. And that’s why whole bike placement is also part of the plan to keep rack firmly in place.
Bring the bike arms up and lock them into its spot. When you drive, these arms are in charge of holding your bike. Once the lock clicks into place you can move ahead. Or else use a screw to ensure the lock is tightened if it’s of some other type. Use a suitable method for locking both arms.
The placement of the arm needs to be at a slight angle facing upward. They should be coming away from your vehicle. So that even if there’s some accidental strap failure, the gravity will help to hold bike. Putting your bike in the arms of rack is a very delicate task that you need to do with a lot of carefulness. Or else your rack, bike, and even car can face damage.
Start by placing the very top part of frame into rack’s arm. You want to place the bike in a way so that weight distributes evenly as much as possible. Also, you should give your bike a wipe with a clean rag to make sure there’s no scratching or damaging to the car’s paintwork.
Then you can clamp down arms not the frame of bike. Tighten down the straps and also make clamp press down. So that the bike is securely attached to the frame with proper locking. And that should be enough for you to safely drive the hatchback without any fear of dropping or damaging your bike.
Watch This!
Wrap Up
And that was all about how to install a bike rack on a hatchback car. It might seem a bit bothering at first if you’ve never done such things before. However, your efforts will have a good outcome once you are done. Since there will be no chance of your bike getting loose and dropping away from the vehicle. At the end of day, you’ll be transporting your beloved bike safely.