Oyster shells are a hugely loved craft item that DIY enthusiasts are been heavily fond towards. And why not, these tiny beauties look amazing when turned into something even more astounding.
The deal gets seals with the fact, that you are creating something beautiful through your creativity. No matter if you are trying to make a gift for BFF or simply a beachy decor that will be displaying in your room, the first step to it involves a proper cleaning segment. Because without proper
cleaning, the outcome won’t be put together as well as polished. Something you would love to have. So, let’s talk on how to clean oyster shells today.
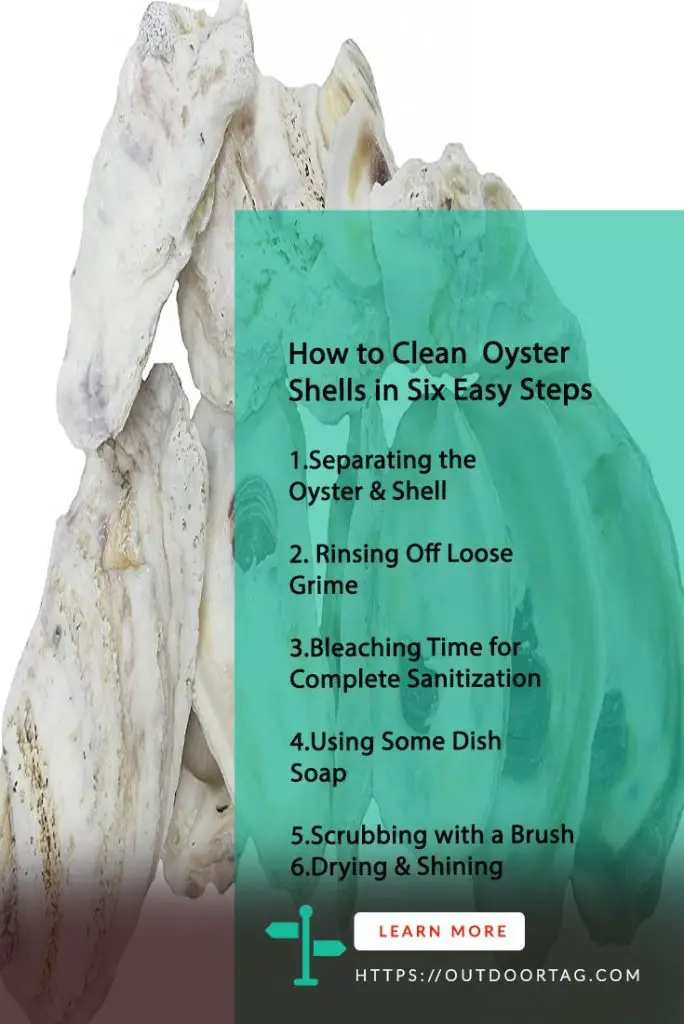
How to Clean Oyster Shells in Six Easy Steps.
Oyster shells often come with pretty hardcore surface grim that are tough to get rid of. Not to mention the stuck in tiny particles that are hard to see. To overtake all these cleaning issues, you need to follow the important steps we’ll be mentioning right below. But Before That…
Get Your Cleaning Supplies!
- Some baby oils.
- A brush with hard bristles.
- A huge bucket.
- Some bleach.
- Clean water.
- Shucking knife.
- Dish soap
- And of course, the dirty Oysters.
1. Separating the Oyster & Shell.
If your oyster is still closed, then you need to follow one simple step. First, you want to keep it over a surface that is not slippery. Then on the top part, press it downwards. Now using your other hand, you need to wedge the shucking knife’s wedge into the shell.
Make sure you are wedging in the area where the bottom and top shells are meeting. Now carefully try to twist the knife. This will end up popping the shells apart.
Now you need to use the sharp part of the knife. The oyster’s meaty part needs to separate from the shell. Use the knife to cut that area, do this very carefully. A membrane should be there to keep the meaty part stuck with a shell of oyster. When you cut under the oyster, this will go through membrane.
And so, the oyster will easily slide out from shell. Now if you like to eat a raw oyster, then keep it aside. Or else simply toss it in the trash can. Usually, people like to eat raw oysters immediately once the shell is opened. Since the oyster’s shell is pretty sharp and also you are using a knife with a pointy edge, make sure to wear proper protective gloves while doing this process.
2. Rinsing Off Loose Grime.
You need to get rid of the surface mud or sand from oyster shell as much as possible. To make this happen, simply bring it to your sink. Now let the shell stay under running water of your sink. This will rinse off any loose particles. Also, you can take it outside and use the garden hose instead of kitchen sink.
This is pretty helpful if you notice that the oyster shells are smelling bad. Through rinsing, you should be able to discard most of the loose mud and sand. So, the next bleaching step will be much easier and more effective.
Now you want to put the rinsed shells inside a huge bucket. Make sure to transfer each shell separately and one at a time. Stack them right on the bucket’s bottom. This way they won’t crack each other accidentally.
You can do this also inside a tub or a sink. But because there will be a lingering odor with the oyster shells, its best to use a bucket. Also, the residues from shells will enter drain pipes. And there is a chance of causing harm to the plumbing system.
3. Bleaching Time for Complete Sanitization.
Now inside the bucket, you need to pour some water and bleach. The ratios of both water and bleach need to be equal. You need to cover all the shells inside bucket with bleach first. And then go with pouring water on top of it. This will create an effective dilution. Through the diluting, you would be able to sanitize shells properly. And this involves no risk of damaging the shells, so voila!
The actual amount of bleach water you are going to need will vary depending on how much shells you’re sanitizing. Also, if you are sensitive to any bleach ingredient, then white vinegar can help as well.
You should let the shells sit inside this solution for at least an hour. So that the solution can have a good amount of time to loosen any stubborn particles stuck with surface. If you have the time, then leaving it for a day will provide best results. Try to sanitize shells prior to the day you’ll be using them. However, the one-hour sanitization should also work in case of urgency.
However, if you leave this bleach solution for more than a day, then there’s a chance of degrading with the shells. Once you are done with the time period, simply pour bleach solution out of bucket. Use a colander for safely holding the shells.
4. Using Some Dish Soap.
Now you need to refill the bucket with some warm water. Use a quarter-sized portion of non-irritant dish soap into the water next. The shells should be already placed on bucket before adding water. Just fill the bucket with water once again until it covers the shells well.
When you start adding water, it should begin getting sudsy. If it does not seem to do so, simply whirl the mixture a bit using your hand. Using dish soap, you will be able to later clean and polish the shells better. And should be enough to loosen particles.
5. Scrubbing with a Brush.
You need a hard bristle brush for this next step. Also, using a toothbrush can help here. Simply dip the brush of your choice inside soapy water. Now you need to scrub the shells both on outside and inside. Focus on one part at a time. This will get rid of all stuck-on grime, barnacles, and membranes from the shells. You need to keep on scrubbing until the shells look clean enough.
In case you suffer from a very hard particle, then use a craft or shucking knife. Gently try to scrape them off. However, you can work your way up with the force if things get hard.
Once you are done with scrubbing, bring all the shells out from bucket. You want to remove them one by one this time as well. Now use some clean water to rinse it off for the last time.
Then you need to keep the clean shells over a towel to make it dry. This time don’t use running water for rinsing these shells. Instead, use a clean water-filled bucket and let them soak inside for a few hours.
6. Drying & Shining.
The oyster shells for crafts are almost ready. Leave shells on the towel until it gets dried completely. You need to make them face down when resting on the towel. Also, try to spread the shells so that they don’t touch each other. Leaving them under sun is the most preferable way to let these dry. Because this will help to brighten and whiten the shells. And that’s not going to happen if you chose to dry them inside the house.
Now to ensure your oyster shell craft looks extra beautiful, try to add some coats to the dried shells. You can use some baby oil over any cloth. And then use this cloth to rub on the inside as well as outside.
A thin layer of oil over the shells will add that extra sheen to make it look even more pleasing. Also, with the shells, a tiny amount of oil will go a pretty long way. Mineral oil will also be a great substitute here. Just make sure the oil is completely dry before you start with your crafting steps.
Things to Keep in Mind:
Usually, it’s very easy to shuck oysters that are cold. If you are working with a lot of shells, then refrigerate and shuck in batches.
It’s best to use an oyster knife for shucking. Here using regular knives can be a little tricky and sometimes quite dangerous. Because with thin knives, it may end up getting broken between the shells.
Outdoor Speak: There is another DIY craft you could do but with your shoes! Interested? Slip into your comfy pair and walk over here to learn more — How To Make Shoes Non-Slip.
Watch This!
Conclusion
And that was the complete process of how to clean oyster shells and prepare for crafting. This sanitizing and cleaning steps are sometimes considered extra and hassling. However, the proper cleaning session will double the appearance while minimizing your efforts to create a beautiful beach inspired craft out of these oyster shells.
So, if the extra hassle is an exchange for an appealing end result, shouldn’t you give it a try? Hopefully, you are nodding and saying, Yes!