You can either do it the right way or go for an unknown route making things worse. And the latter one usually ends up making you pay some sort of price. When you try to go DIY route for making some scrap metal hitch for towing, it’s not the right way whatsoever.
But if you readily want to go for a tailor-made solution for some professional-grade bolting need then buying the available and specifically designed options is best route to walk on. Today we will be talking about a very confusing but actually easy to do matter in this piece of writing. And it’s about how to put a hitch on a car.
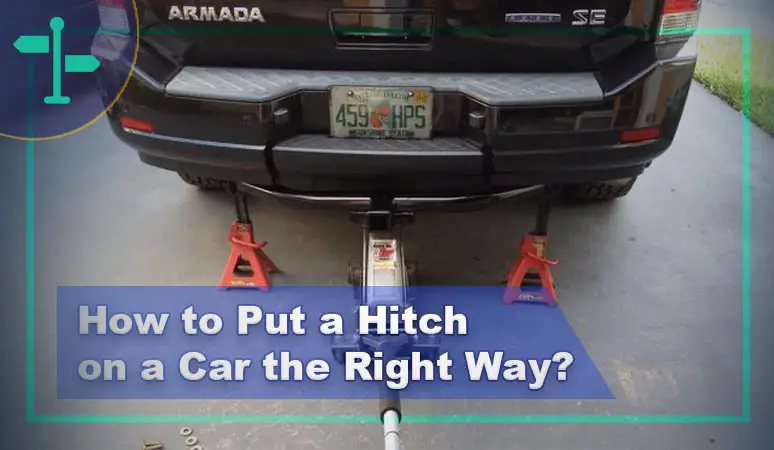
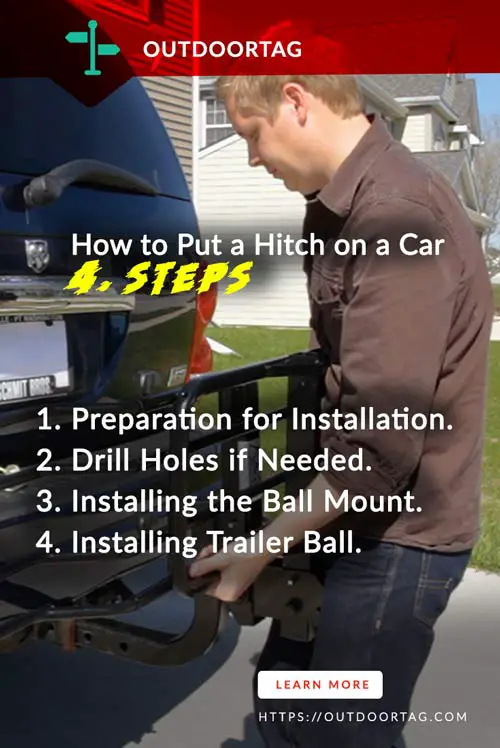
Here’s How to Put a Hitch on a Car in The Simplest Way.
Pro travelers always suggest reading the general instructions before going for such a process. There can be some specific warnings or stuff that you need to know about with the car hitch installation.
Preparation for Installation
Prepare the workstation where you’ll be working on. Before you make an entry with dirty tow hitch, it’s good to set up the place with all necessary tools and gears. You will need a torque wrench, C-clamp, wheel chocks, lubricant, pin, and clip. Also, you will need a power drill in case your car does not have holes.
If the tow hitch is brand new, chances are there will be bolts, instructions, and washers coming along with it that you need to take out. Put them somewhere easy to access. Next, you want to wear some heavy-duty gloves. So that any potential cuts or scrapes are away from hurting you.
The next thing you need to ensure is good lighting. When you’re installing the tow hitch, make sure there’s enough illumination for you to see things clearly. Maybe bring a flashlight if the garage is too dim. Also, for weighty tow hitch with more than 50 pounds weight, keep things safe by calling a friend for help.
Now move onto the car for some preparation steps. You want it to be clean and clear from any sort of obstacle creating objects. You need to activate the parting brake for preventing rolling. Then check the wheels, you need to target center area of both tires on rear to place two wedges. You can also include chock wheels on another side to keep things extra safe.
If the spare tire seems to be causing trouble later, remove it as well. You can also manage for more working space by jacking up your car. Some hitch models require you to detach plugs and bolts for it to install. In such a case make sure you get rid of those parts and pieces for now.
Drill Holes if Needed
Your vehicle might not have previous holes for hitch mount installation. In that case, you need to make those holes in your car’s frame. However, if you buy a hitch with no-drill installation support, then this step is not necessary.
Bring hitch into position for starting the installation process. Here you may need to ask a friend for giving you some help. Use C-clamps to hold the hitch into place after attaching it with car’s frame. Then use your hands to make bolts tight enough to keep the hitch in place for now. You can torque them later after we get a few things done. You want to finger tight both sides this way.
Installing the Ball Mount
The heavy square shape part is ball mount shank. Simply insert this part into the vehicle’s receiver tube. Make some adjustments to make the receiver tube and shank’s hole line up. Then use a hitch lock or pin and clip to secure the mount nicely. And the ball mount should be installed. You should wiggle it back and forth a bit just to check if it’s firmly placed. In some vehicles, the all mount creates a horrible noise. Using anti-rattle kits can help in such cases.
Installing Trailer Ball
Sometimes the trailer ball is not available with the package. But you will need to buy one separately although. This is basically what helps to make the two happen. The installation is pretty straightforward here as well.
Use a wrench to detach the nut and washer out from shank. Inside the ball mount’s hole, you need to gradually insert shank. Make sure to replace the washer and nut before reinstalling them using your fingers. It needs to be tight properly with a torque wrench. In some cases, the ball mount is unable to fit inside opening of receiver tube. You will require a receive tube adapter in such a case.
Almost Done!
As soon as the hitch attaching is done, you need to ensure bolts are tight properly too. Using the torque wrench make sure you get all the available bolts securely fix to its place. Then you can reconnect the wiring to your brake lights as well as turn signals.
Make sure these two are legally wired with your tow hitch. You will find trailer wiring harness coming out from the rear of your vehicle. You need to shake, wiggle, and tug on the tow hitch to check its security. To test the wiring, you need to pay attention to brakes and turn signals as well.
Conclusion
Looks like we are by the end of how to put a hitch on a car tutorial for today. Now you should be able to deal with the whole situation without much trouble. However, if this process concerns you then contacting a professional to do the setup will be a safer option. Also, this route will let you have the mental peace that eventually nothing will go wrong. As now there’s no trailer tongue weight too heavy issue with proper mass distribution being ensured.