There’s hardly a hunter who won’t enjoy having a remembrance of his or her catch. And that meaningful sign can be worked on right after you are done having the delicious meat of your catch. Once you enjoy the fabulous taste of a healthy deer, rewarding yourself with a white skull trophy seems to be best next thing to do.
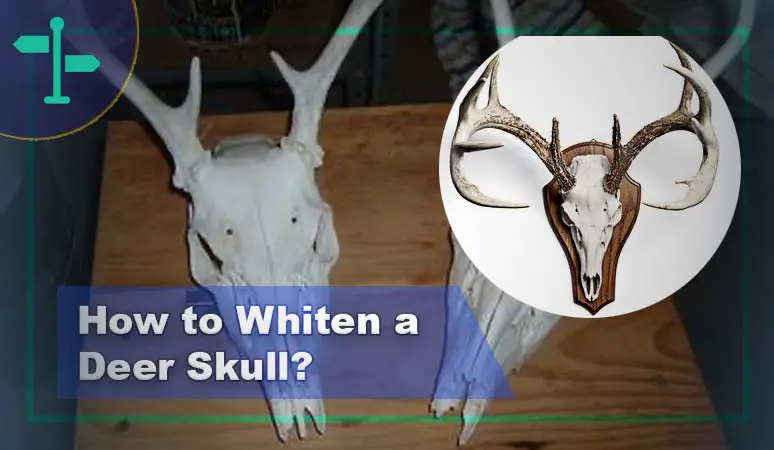
And so, let’s find out how to whiten a deer skull that you can later keep us a memory of a great hunting experience.
Here’s How to Whiten a Deer Skull
The whole process needs multiple steps for you to follow. By going through a thorough procedure, you can assure to have an outstanding result that glorifies your great feat even better.

Things You Should Know About Deer Skull Whitening Before Starting.
The first thing that I want to point out is for those who are tempted to use a whitening kit from the market that promises to give quicker results. As there are some notes on not using these kits for the long run results. However, there’s no problem in using a good kit that can provide you speed on the whole process along with enough product inside. You can definitely find yourself a convenient option.
Next, let’s talk about a more used cost-effective formula that involves taxidermy. It’s known as the European mounting that can provide a professional clean touch to the resultant trophy. It’s super simple and most noobs can also try it. We’ll be talking about this process specifically today.
Now you also want to know that getting a perfect result is only possible with several trials and errors. Depending on the skull, you will make some small adjustments to get it right. Also avoiding bleach is highly recommended. As it can cause bone eroding. The skull will at some point start looking very unnatural as well as flaky.
The Material & Supplies You’ll Need.
- Degreasing detergent (a strong one)
- A pot for boiling.
- Enough spacious bucket for the skull.
- Washing powder.
- Screwdriver
- 1L 40 vol peroxide.
- Gurney 1400 psi powerhead
- Cleaning grade peroxide available for commercial use.
- 150w aquarium heater.
Clean It for The First Boil.
Get rid of as much flesh and skin as possible from the deer skull. You want to do this while the animal is still warm or else it can be hard. Also, this helps with boiling. The amount of grease reduces as well with cleaning instantly.
After cleaning, you need to prepare for boiling the skull. Make sure to not opt for too much temperature. Or else there’s a chance of drying out the bone. And also, this will penetrate the grease deeper into skull.
Bring the boiling pot and put it inside 300 ml of detergent along with a half cup of washing powder. You need to use the same portion for both of these cleaning agents each time you’re changing water. So, keep that in mind.
If you chose to boil or simmer slowly, then grease tends to draw out more. And at first, that’s exactly what you should aim for, removing grease as much as possible. Leave the simmer to happen for four to six hours. Over the day, top water up as well if you need to. But then again, remember that if you’re sending more time for simmering here, the lesser will be greasiness of skull later on. So, give this step enough time and patience.
Pressure Cleaning Plus Removing Ear Bone & Brain.
After you are done with the first boil, get skull out, and prepare for initial pressure clean. meat needs to gurney off as much as possible. Also, loose teeth need removal so that you can glue them by the end. Applying too much pressure on the skull is strictly not allowed. Just apply a decent amount of force for simply removing the now cooked meat out from skull. And at the same time, no bone should blow out.
There should be a lot of grease around-ear bone and so, you need to remove it. This will also let you have some access to the brain cavity. Simply using a screwdriver, lever forward and backward in the ear canal.
Then using the pressure washer blow out the brain. Allow the pressure washer to stay inside cavity for a few minutes to get it completely clean. You can use a screwdriver or even coat hanger here for eliminating the brain.
Boiling the Skull Again for Another Pressure Wash.
Change the water of the pot and add detergent once again. Let the skull simmer inside it so that the leftover meat is cooked as well. After a few hours, you can see the grease on top of pot. You need another pressure wash. The seen meat should be blown off and there must be nothing left in brain cavity. Near bottom of the eye socket, you’ll see two tiny pockets. Make sure to blast this area so that any trapped meat can get off.
Follow up With Degreasing.
The skull is quite clean now and you just need to soak it for a while. So that any last bit of meat can macerate. If you are living in a summery climate, try keeping the skull in a bucket fill with water under sun. Use detergent of enough amount as well.
If weather is on colder side, you need to use an aquarium heater for speeding up the process. Make sure to blast out all the tiny nasal passages too. Do not forget the behind of teeth as well.
Once you find that there’s no grease gathering on top of the bucket, it is fully clean and ready for whitening after a final pressure clean. The last blast will not only get rid of all hidden material but also help with reducing any bad smell to it.
Whitening the Skull.
The skull should be a bit heated for whitening, you can use activated peroxide for this. The peroxide gets activated when it comes in touch with hotter bone. This helps to penetrate deeper and work faster.
Put the skull inside a pot filled with hot water. You want to keep the skull there for at least five minutes. Then you can apply the peroxide. There should be bubbling noticeably in the bone. This means the reaction has started.
You can also paint a very thick layer over the skull if having patience seems hard. Covering the skull in peroxide can also work. You need to wrap it with glad wrap to place it under the sun. Keep on repeating until the color seems right. Once the skull is ready, get some glue and fix the teeth on it. Also, put the front nose pieces back.
Outdoor Speak: If cleaning oyster shells is your definition of fun, then learn it here — How To Clean Oyster Shells.
Related post :
how does a mother deer find her fawn
Wrap Up
And that was how to whiten a deer skull using the euro mount method. The end results should not be any less than professionally done ones. Just make sure you give the process enough time and patience. After skull whitening, you can simply place it on board. Some like to have it on a skull hooked for a more specific finish. You can try anything that fits well with your preference.